Camera and Lens Master Course

Academy Award and Emmy-winning cinematographers teach you how to unlock the most powerful tool on your set – your camera.

Play Video

"Best tutorials out there! Very straightforward, very, very clear and objective. Congratulations on the outstanding work!"

– SM Felipe

USED IN OVER 125 TOP FILM SCHOOLS

The Complete
Cinematography Camera Course

33 methodical lessons take you guide you through the tools, techniques, and process used to create a professional cinematic look

"Really good and profound lessons according to the fundamental understanding of one of the most important technical concepts behind the art of photography and cinema. Thank you!"

– Albert Scheichstein

LIFETIME ACCESS • FREE CONTENT UPDATES

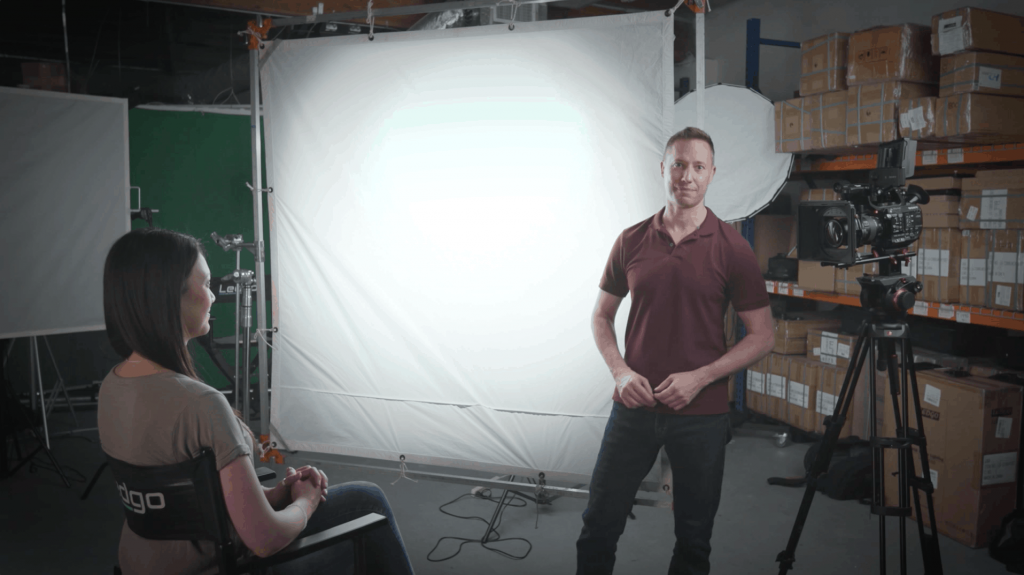
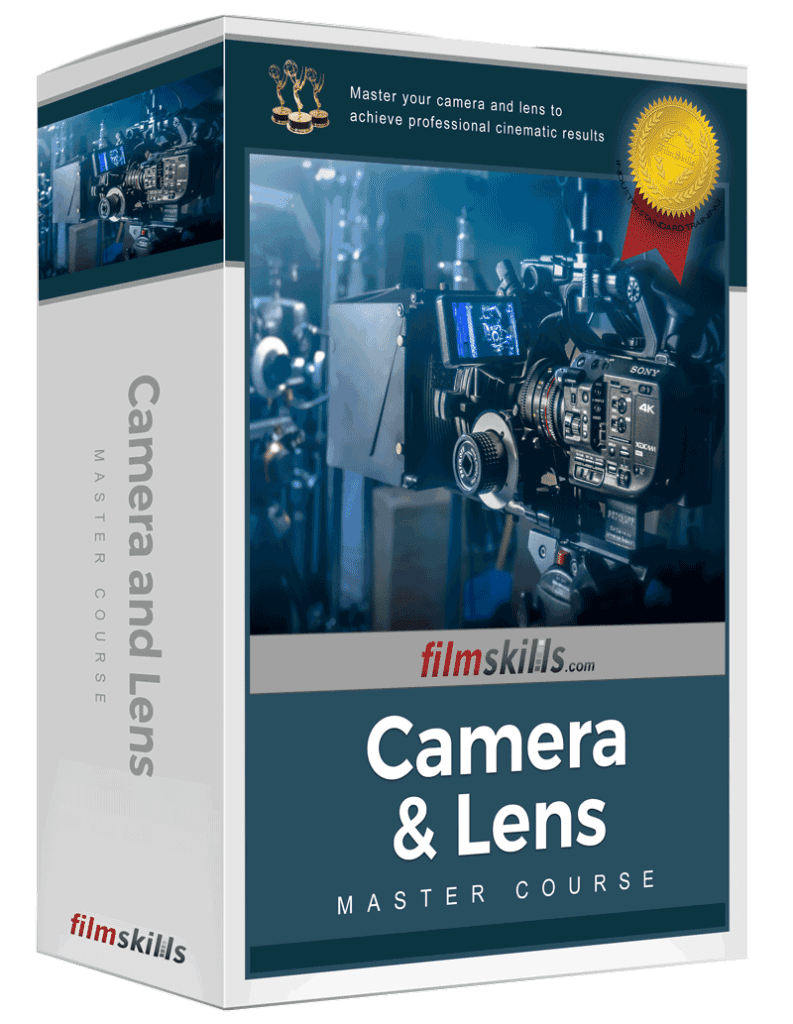
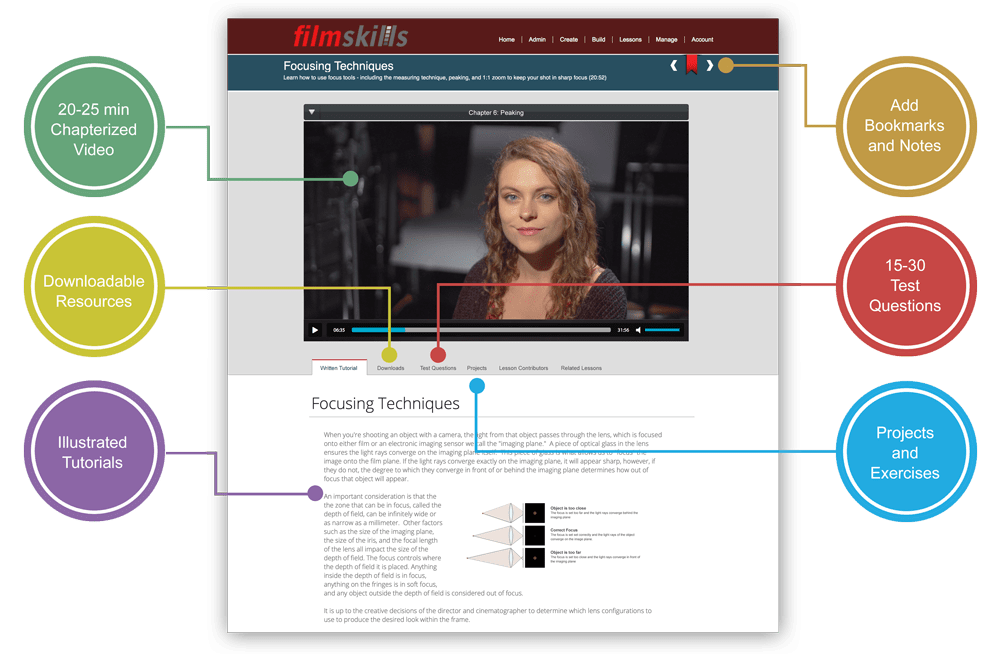
7+ hours of on-set video tutorials

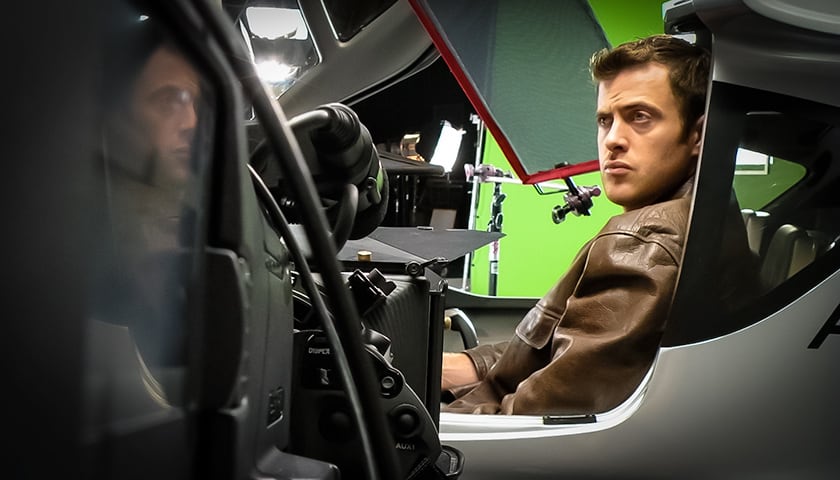
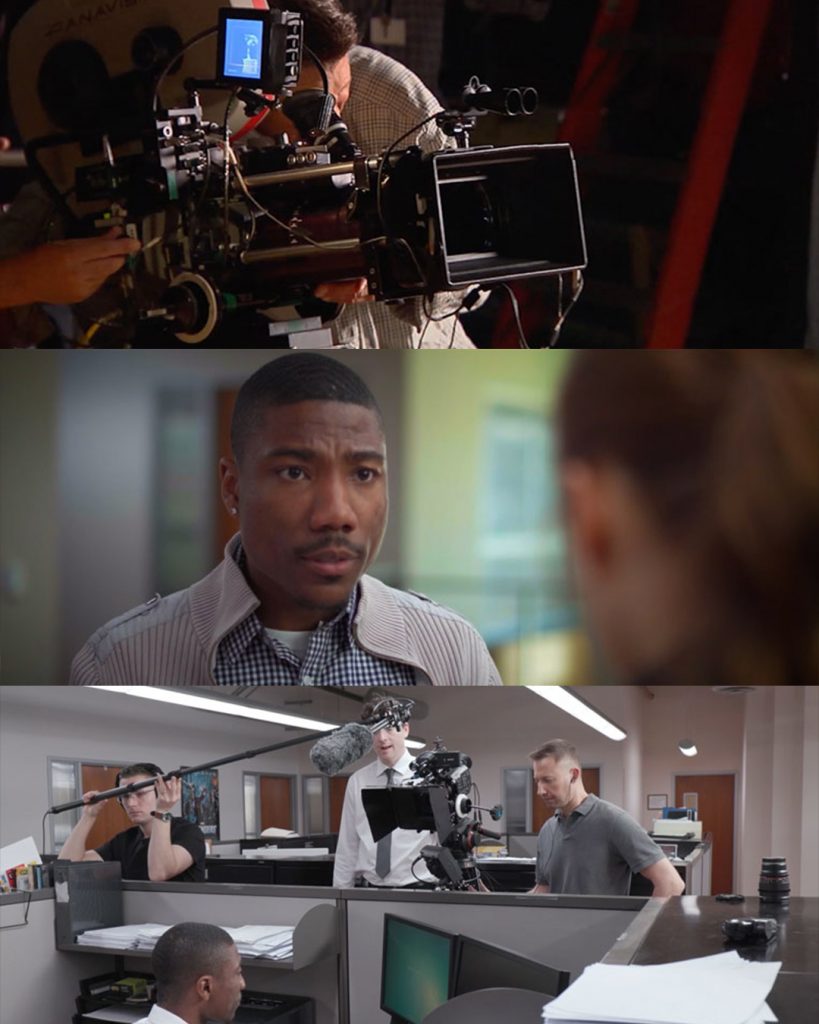
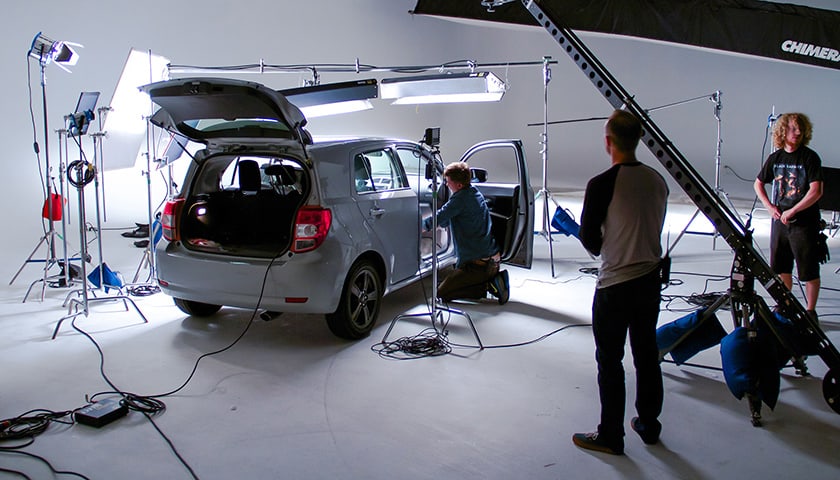
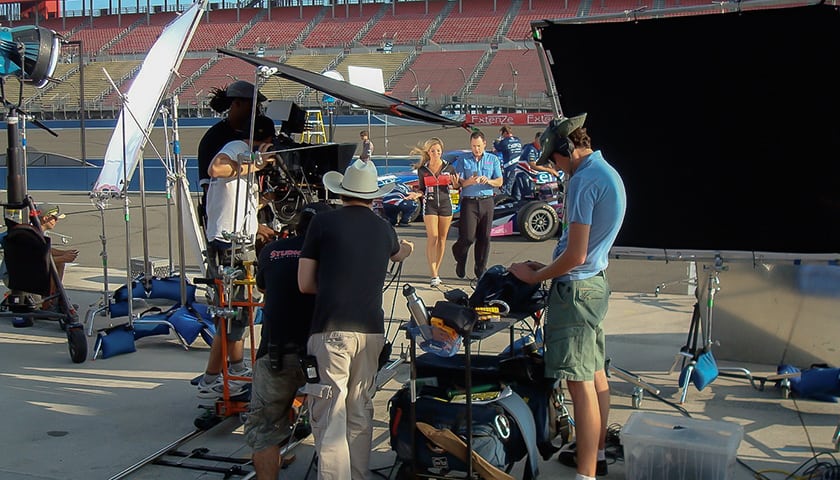
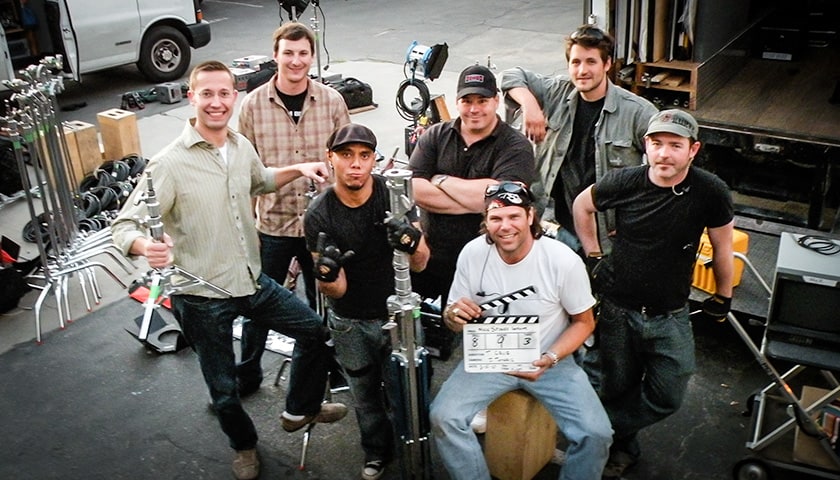
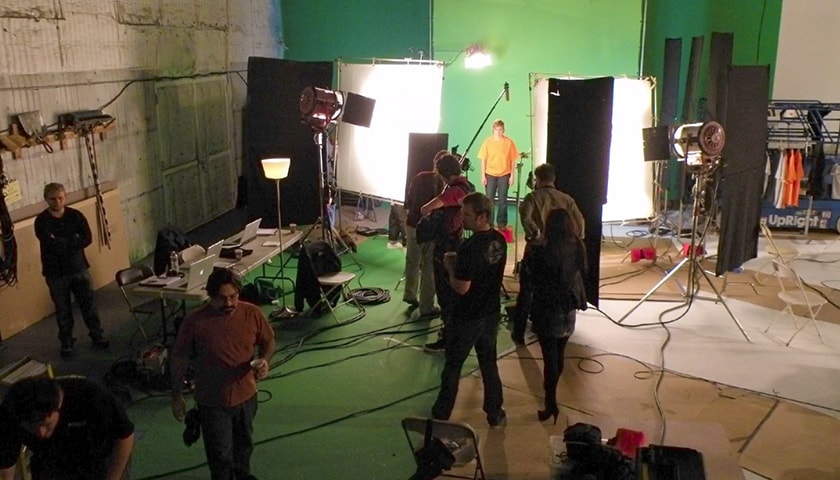
We take you on set to show you Hollywood techniques to making your videos more cinematic

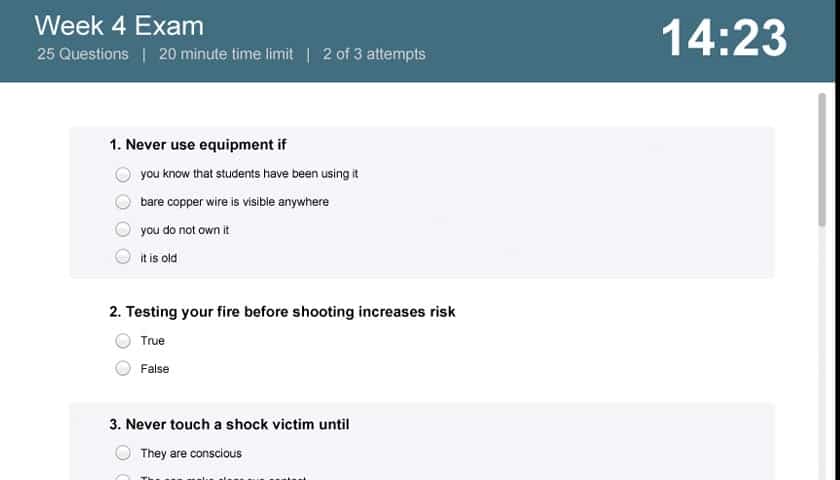
Includes quizzes to test your knowledge

Take quizzes after each lesson to help you practice and learn your new skills.

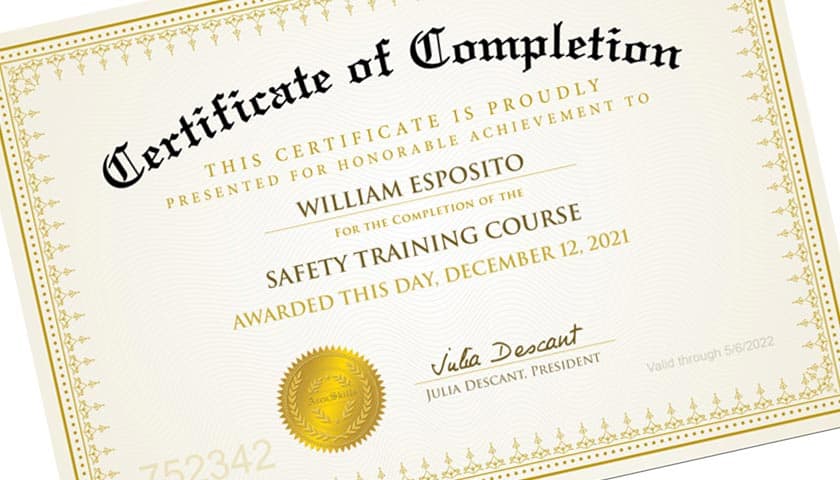
Certificate of Completion

Earn 85% or higher and receive a personalized certificate and be listed in our Certification Database.

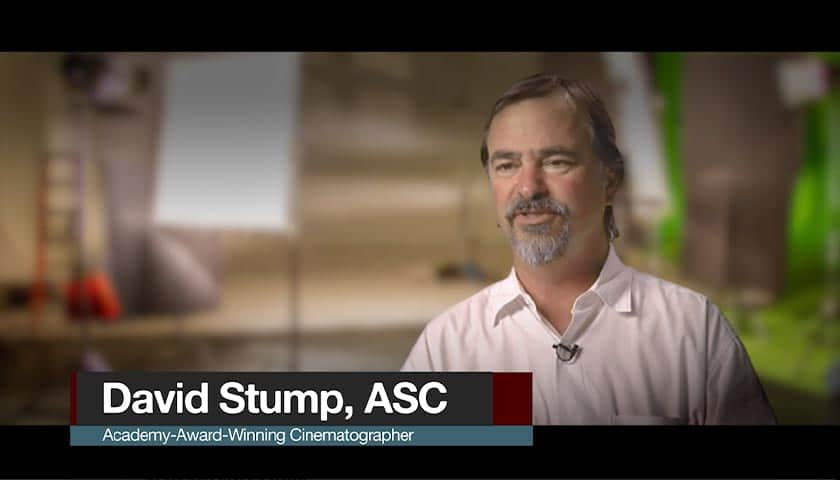
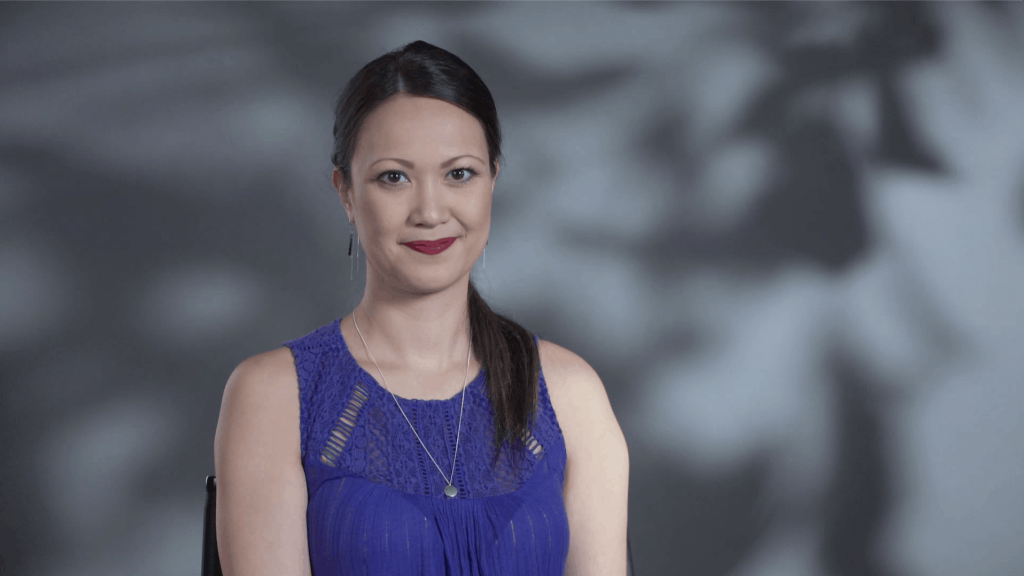
Learn from expert filmmakers

We partnered with Oscar and Emmy winning filmmakers who reveal their techniques

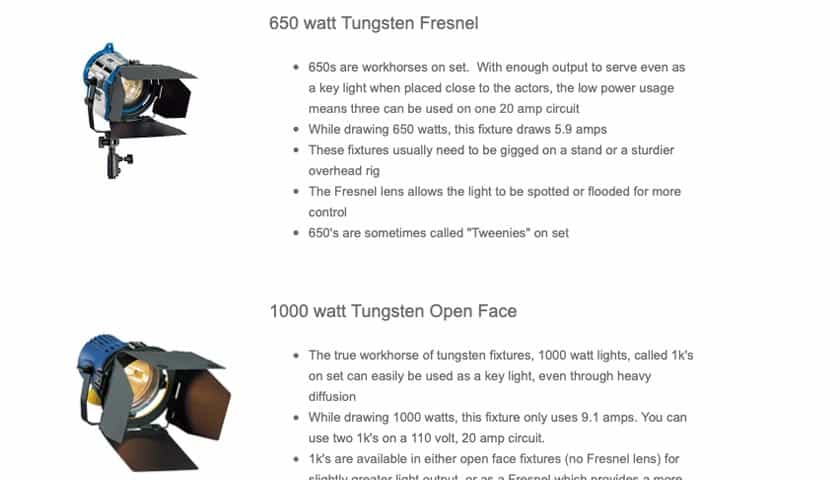
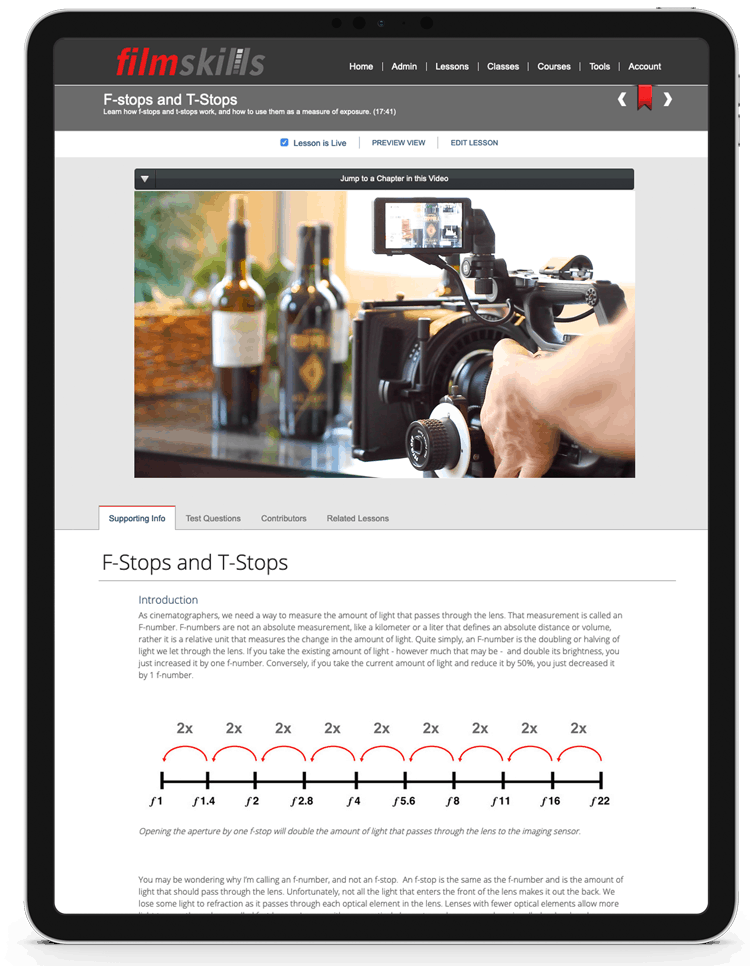
Illustrated companion guides

Each lesson comes packed with supplemental reference material to help you on set

Downloadable Forms

Use our industry-standard templates on your productions.

"It's wonderful when talented and passionate people share their expertise in a wholesome and informative manner like this. Thanks a lot!"

– Santanu Chanda

Section 1:

Getting Started

Learn what professional cinematography covers, how a cinematographer preps a new project, and how to build a camera package.

Lesson 1

An Overview of Cinematography

Cinematography is the art of balancing six key components, all of which work together to help craft an emotional feeling for each scene. We will discuss these six components and how you can use them to achieve the desired look and feel of your film.

Lesson 2

How a Cinematographer Preps a Project

The cinematographer’s role is to capture the actor’s performances and create an emotional tone through the use of lens and light. In order to do this, careful preparation is required, so in this lesson you will learn how to prep a project as a cinematographer.

Lesson 3

Building the Camera Package

Learn the components and accessories of a professional package, and how to build the camera for your project.

Section 2:

The Camera

Learn how to choose, configure, and operate the camera body.

Lesson 4

How to Prep a Camera

Cameras are a collection of accessories that can be assembled in different ways to meet the demands of each production.  The 1st assistant camera is responsible for prepping, or building, the camera package in its entirety the day before the shoot to make sure that every component is in good working order.

In this lesson, Drew Lauer of Hollywood Special Ops takes you through the process of prepping a camera, what to look for, and common mistakes that could seriously affect your shoot. (14:36)

Lesson 5

How to Test a Lens

When you rent equipment from a rental house, it’s critical to build and test every component, especially the lenses.  Through a series of lens tests, you are looking for physical problems, focusing issues, chromatic abberation, and a range of other problems that can severely impact the quality of the recorded image.

In this lesson,  you will learn several procedures to test a lens so you can arrive on set confident in your gear.

Lesson 6

Imaging Sensor and ISO

The imaging sensor is the heart of the camera system. It converts light into the electrical signal that becomes the image we see on screen. But understanding how it works and its limitations will help you improve your cinematography.
This lesson is jam-packed with tips on how to get the most out of your camera by understanding how photosites convert light into an electrical signal, bayer patterns, chip sensitivity, and working with dual ISOs. (20:25)

Lesson 7

Frame Rates

The frame rate is the number of images a camera captures each second. In this lesson, you will learn how to choose the correct frame rate, the difference between interlaced and progressive frames, and how the frame rate affects the look of your production. (20:02)

  • What is a frame rate
  • How does persistence of vision work?
  • The difference between interlaced and progressive frames
  • How to choose the correct frame rate for the camera
  • How time code works
  • How to work with drop frame and non-drop frame time code
  • How 3:2 pulldown works
  • How to expose and shoot in slow motion
  • How to expose and shoot in time lapse
  • How to choose the correct frame rate for your production

Lesson 8

The Camera Shutter

Learn how the shutter functions in a film camera and the electronic equivalent in digital cameras, how it functions, how it affects the exposure of the shot and how you can create different looks by changing the shutter speed. (12:54)

  • How the shutter functions in a film camera
  • How the shutter functions in a digital camera
  • How to change the shutter angle
  • How changes of the shutter speed affect the exposure
  • How changes of the shutter speed affect the look of the image
  • The difference between a rolling shutter and global shutter
  • Shutter speed and screen flicker


Lesson 9

Managing Media

With digital formats all but completely replacing film as the on-set acquisition format, it’s critical to protect and manage your workflow to protect your “digital negative.”  In this lesson, we will show you how to manage and protect your media on set.

Lesson 10

Tripods and Sliders

Learn about the equipment that can help you stabilize and support the camera. From tripods to jib arms, this lesson is an outstanding introduction to the gear filmmakers use to control their camera shots.

Section 3:

The Lens

In this section, learn how lenses work, how to find the sweet spot, and how to use them to create teh desired emotion on screen.

Lesson 11

Introduction to Lenses

Enter the world of cinema lenses, and learn the differences between prime and zoom lenses, lens speeds, lens types and how to choose the best lens for your production. Taught by Emmy-winning cinematographer at Panavision in Hollywood, this hands on module will demystify the various attributes of the lens so you can choose the best lens for your production. (22:00)

Lesson 12

Taking Care of Lenses

Lenses are the window between your story and the audience, which is why keeping your lenses clean and in good working order is key. In this lesson, you will learn to properly transport, store, change, replace and maintain camera lenses. (9:28)

Lesson 13

Focusing Techniques

Although focusing is viewed as a purely technical process, it’s really a powerful artistic tool for the cinematographer.  This module takes you into the world of using focus to draw the audience’s attention to a subject, how to set focus with both prime and zoom lenses, unlocking the power of the hyperfocal distance, focusing techniques in both documentary and narrative productions, setting focus marks, focusing on moving subjects, minimum focus distance and pulling focus.

  • The technical importance of focus
  • The use of focus as a powerful storytelling tool
  • Using autofocus
  • The physics of focusing – what’s really happening in the lens
  • Working with the hyperfocal distance and how to use it
  • Minimum focus
  • Techniques for setting focus with a digital camera
  • Techniques for setting focus with a film camera
  • How to measure the distance to the subject and set focus marks
  • How to use a follow focus to pull focus
  • How to maintain focus with a moving subject or camera

Lesson 14

Lens Focal Length

The focal length is undoubtedly the most powerful aspect of the lens, and understanding it’s true capabilities will enhance a cinematographer’s storytelling abilities significantly.  Learn how to create deep and shallow depth of field, compress or expand distance in your shot, create the illusion of faster or slower time and increase or decrease shot size in this comprehensive yet easy-to-understand video. (23:50)

  • How to change the focal length with both prime and zoom lenses
  • How the focal length affects the field of view
  • How the focal length affects the depth of a shot
  • How the focal length affects the perception of time
  • How the focal length affects the depth of field

Lesson 15

Depth of Field

The depth of field is the zone in front of the camera lens in which objects are in focus, and in this lesson, you’ll learn the four factors that affect the depth of field, how to use it as a creative tool to draw the audience’s attention to a specific object or person in the shot, and the physics of how the lens creates the depth of field.
 
  • What is the depth of field
  • Circle of confusion
  • How the aperture controls the depth of field
  • How the focal length affects the depth of field
  • How the imaging sensor affects the depth of field
  • How the distance to the subject affects the depth of field
  • How to use the depth of field as a creative tool

Section 4:

Exposure Techniques

In this section, learn how to determine the perfect exposure to create perfect skin tones and maintain details in the important parts of the frame.

Lesson 16

How to Expose a Shot

Exposure is a powerful tool in the cinematographer’s arsenal, and this module walks you through both basic exposure techniques.  Learn about f-stops, latitude, under and over exposing your subject, using incident and spot light meters, exposing subjects with varying skin tones and exposing in both film and video. Taught by Emmy-winning cinematographer Jason J. Tomaric at Panavision studios, this video demystifies the exposure process once and for all. (25:16)

  • How the aperture works
  • How to work within the latitude of a format
  • What are f-stops
  • What are zebra stripes and how you can properly use them
  • How to work with under and overexposed images
  • How to properly expose both film and video
  • How to work with false color
  • How to work with zebra stripes
  • How to work with a light meter

Lesson 17

F-Stops and T-Stops

F-stops and T-stops are units that measure the change in teh brightness of light, and we use them to determine the dynamic range of a camera sensor, the contrast ratios of a scene we are lighting, and as an exposure tool.

In this lesson, you will learn how f-stops work and how to use them on set.

  • What is an f-number?
  • The difference between an f-stop and a t-stop
  • How changes in an f-stop affect the brightness of light
  • Working with fast and slow lenses
  • How to use T-stops
  • Working with F-stops and T-stops on set

Lesson 18

Neutral Density Filters

Neutral Density filters reduce the amount of light before it passes through the lens and is a key tool in controlling exposure. Learn how ND filters work, the types of ND filters, and a convenient light reduction table.

Lesson 19

Polarizers

Learn how polarizer work, how to use them to reduce reflections, enhance the sky, and how they can be used as an exposure tool
 
  • What is a polarizer?
  • Polarized vs unpolarized light
  • Linear vs circular polarizers
  • Tinting and exposure challenges
  • Form factors

Section 5:

Framing and Composition Techniques

In this section, learn Hollywood techniques to framing your subject for engaging, professional results.

Lesson 20

Composition - Professional Techniques

The audience only sees what you point the camera at, and as filmmakers, the stories we tell must exist within the boundaries of the frame.  The way we choose to place our subjects in the frame significantly affect the audience’s visual perception of the story and invoke subtle – yet powerful emotions.
 
In this lesson you will learn compositional techniques including the rule of thirds, how the great painters used mathematical principals like the golden ratio to create the perfectly composed images, how to balance line, color, and shape, and then how to break these rules.
 
Learn from the masters and harness the power of the frame to create compelling, story-supporting visuals in your movie.
 
 
  • Frame division and placement of subjects in the frame
  • Important compositional guidelines and their importance when framing a shot
  • The rule of thirds and how it can be used and broken as a powerful storytelling tool
  • The Golden Ratio and the Golden Rectangle
  • Composing for lines and area
  • How to adapt framing guidelines for different aspect ratios
  • How to frame a subject using:
  • Pictoral balance
  • Unity
  • Visual patterns
  • Leading lines
  • Scale
  • Subject prominence
  • Impressions of the subject
  • Composition and color
  • Composition and motion
  • Dynamic composition

Lesson 21

Creating Depth in the Frame

Although the movie screen is a flat two-dimensional plane, we as filmmakers have incredibly powerful tools to craft the perception of depth – not only to create a visually-engaging shot, but to enhance the emotional connection between the audience and our characters.
 
In this module you will learn techniques for crafting foreground, midground, and background elements, how to manage depth or flatness as a narrative tool, techniques used in network television shows to cheat depth, and the ways the camera lens can affect depth.
 
Bring a sense of realism to your shot and master the tools you need to add the third dimension to an otherwise flat image. (17:20)
 
  • How to set-up and cheat foreground elements to add depth to the frame
  • How to use the background to create depth and separation
  • The difference between real world vs. proscenium staging
  • How the camera perceives depth and how you can exploit this to create the illusion of dimension

Lesson 22

Framing Actors and Eyelines

The eyes are the window to the soul, and being able to look into someone’s eyes can promote a connection in a way no other interaction can.  Framing actors in a movie is no different – the more an audience can see a character, the more they will connect to him or her. One very powerful technique to manipulate this connection is how you direct the actor’s eyeline to the camera.
 
In this module, you will learn how to choose the best eyeline, directing techniques for ideal camera placement, how to overcome challenges when working with visual effects, and how to fine tune actor’s eyelines within mere inches to achieve the desired emotional impact.
 
Improve the connection between the characters and the audience with the power of understanding eyelines. (9:26)

Lesson 23

Framing People

Since the majority of movies involve people in the frame, understanding how to best frame them is critical. Subtle camera changes can have a tremendous impact on how the audience perceives a character, and knowing these techniques will enhance your options as a director.
 
In this module, you will learn techniques for framing people from lead room to headroom, how networks and major studios influence framing choices of their programs, how to use single and dirty shots to convey connection or distance between characters, and how directors and cinematographers decide on common guidelines for each production.
 
Combine the power of your actors’ performance with strong cinematic technique to create compelling scenes in your movie. (17:19)

Lesson 24

Rule of 180

As filmmakers, we have a responsibility to properly represent the geography of the set to the audience.  To do this requires a fundamental understanding of screen direction, the rules that govern it, and how – and when to break them.
 
In this lesson you will learn the core fundamentals of screen direction, how to establish the line of action, the rule of 180, exceptions to the rule of 180, instances where the line of action doesn’t apply, how to shoot multiple character with an ever-moving line of action, and how to prepare your shot lists to avoid catastrophic editing problems.
 
Become a master of space and know where to position the camera with confidence. (24:32)

Lesson 25

Shot Types

It seems every department has it’s own language – actors talk about method, gaffers talk in terms of lighting, and producers speak in the language of finance.  Directors have their own language, and part of it is conveying how they want to frame a shot.
 
In this lesson, you will learn the intricacies of framing, the basic shot types, advanced variations on these shot types, how to quickly communicate your vision to the cinematographer, and the emotional responsive invoked by various shot types.
 
Become a master of the frame and improve the language of composition to the get the shot you want. (28:07)

Lesson 26

The Frame

Everything you create to tell the story – from the actor’s performances to the set design is captured within the boundaries of the frame. Over the years, movies and television shows have been shot on numerous formats, and learning how to convert, adjust, and frame for these formats can be a challenge.
 
In this lesson, you will learn how to identify and work with different aspect ratios, manage conversions from film to HD, NTSC to HD, title safe requirements, and how various aspect ratios are adjusted for different exhibition and broadcast formats.
 
Avoid mistakes and create an artistically pleasing image in the complex and ever-changing canvas we call the frame. (13:15)
 
  • What are aspect ratios
  • How to concert from one aspect ratio to another
  • How letterboxing works
  • How pillarboxing works
  • How pan-n-scan works
  • How squeezing works
  • How cropping works
  • How to simultaneously frame for multiple aspect ratios

Lesson 27

Using a Clapboard

The clapboard is one of the most recognizable tools used in the film industry, but also one of the most misunderstood. In this lesson, we’ll show you the purpose of a clapboard, how to properly use it and more importantly, how not to use it. (11:04)

  • How to properly use a slate
  • Smart slates vs. dumb slates
  • How to properly mark a slate
  • How to mark MOS shots
  • How to mark sync sound shots
  • How to tailslate

Lesson 28

Using a Monitor

Monitors are one of the most often used tools on set, but an improperly-calibrated monitor can be disastrous for the final image. In this lesson, we’ll show you how to use color bars to properly calibrate your production monitor both on set and in the edit bay. (14:29)

  • What is a waveform monitor
  • What is a vectorscope
  • How to use color bars to calibrate a production monitor
  • What is blue mode
  • How the ambient conditions can affect the image on the monitor

Section 6:

The Cinematographer and the Camera Crew

Go on set with the camera crews behind popular TV shows and movies to learn how to start a career in the camera department on a Hollywood set.

Lesson 29

The Director of Photography

Learn about the role of the director of photography, his duties and responsibilities, and how to hire the best DP for your project.

Lesson 30

The Camera Operator

The camera operator is the head of the camera department.  In this lesson, you will learn the duties and responsibilities of the camera operator. (26:13)

  • The role of the camera operator
  • The camera operator’s involvement during the blocking of a scene
  • The relationship between the camera operator and boom operator
  • How the camera operator works with the art department to finesse the frame
  • Common camera support gear

Lesson 31

1st Assistant Camera

In this lesson, you will learn the duties and responsibilities of the 1st Assistant Cameraperson, both on and off the set. (11:24)

  • The role of the 1st AC
  • How the 1st AC preps the camera before a shoot
  • The 1st AC’s role in setting up and maintaining the camera on set
  • The 1st AC’s role in setting and pulling focus

Lesson 32

2nd Assistant Camera

In this lesson, we explore the duties and responsibilities of the 2nd Assistant Camera on set. (7:33)

  • The role of the 2nd AC on set
  • The 2nd AC’s responsibilities during the blocking process
  • The 2nd AC’s management and operation of the clapboard


Start Improving Your Cinematography Today

$899 Only $399

Get it all and

save over 70%

$3,388.99

only $949

"I signed up for FilmSkills Unlimited. Absolutely invaluable course. I would go this far and say that this is the best online course on the topic. The catalog is broad and given the range of subject covered, the value is unbelievable. Highly recommended."

– Manoj Jayadevan